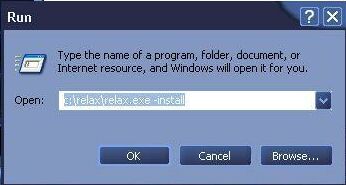
Running RelaX you will either have to use relax.exe or
relax_ns.exe depending on weather or not you installed Relax as a service.
Either way one of these files will display the RelaX gui.
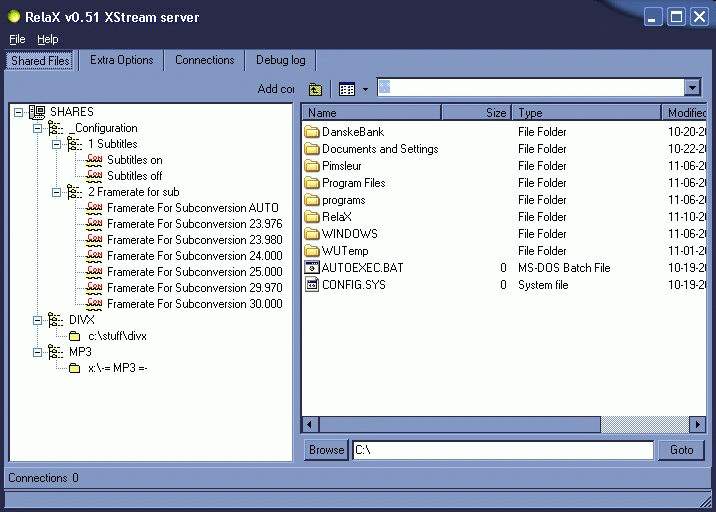
Upon first run you will see a two split window, with left side showing you
your shares, and right side showing files and folders.
On your shares side you will see 4 pre-installed items, these being:
Configuration with containing subtitles and frame rate for subtitles.
The two other items will be: Divx and mp3
You can either choose to use these two created virtual folders, or make some
new ones, or simply rename them if you want. To rename simply click on the folder
and write the name you wish in the NAME entry below.
As you might have noticed Relax is able to produce virtual folders, so that
you can categorize your movies and browse them through Xbox Media Player.
The virtual folder gives you the opportunity to use multiple folders on multiple
hard drives and sharing these resource, so that you only have to browse ONE
directory through XBMP.
If you where to make a Category called Action Films, with files placed on drives
d:\action and e:\action, this is what you would do:
Right click on Divx (the predefined state, or what you chose to call it) press
either ctrl-ins (for our keyboard savvy folk ;), or click Add.
This will add a virtual Folder called "Rename Please". Rename this
by entering the name in the box below where it says NAME. Enter a name you like
Action Films. Now you want to add the two folder on drive c: and drive
d:
In the lower right side you will find a browse button and a line where you can
enter folder names and a go to box.
In the blank line write D:\ (or whatever drive your folder is located on) and
press "goto" or enter. Now you drag you folder from the right pane
to the left and place it beneath the virtual folder you created earlier.
Do the same thing with folder number 2. Now you will have 2 folders beneath
your virtual folder.
If you click on one of these two folders you will see a few things that you
can change. Here is a brief description:
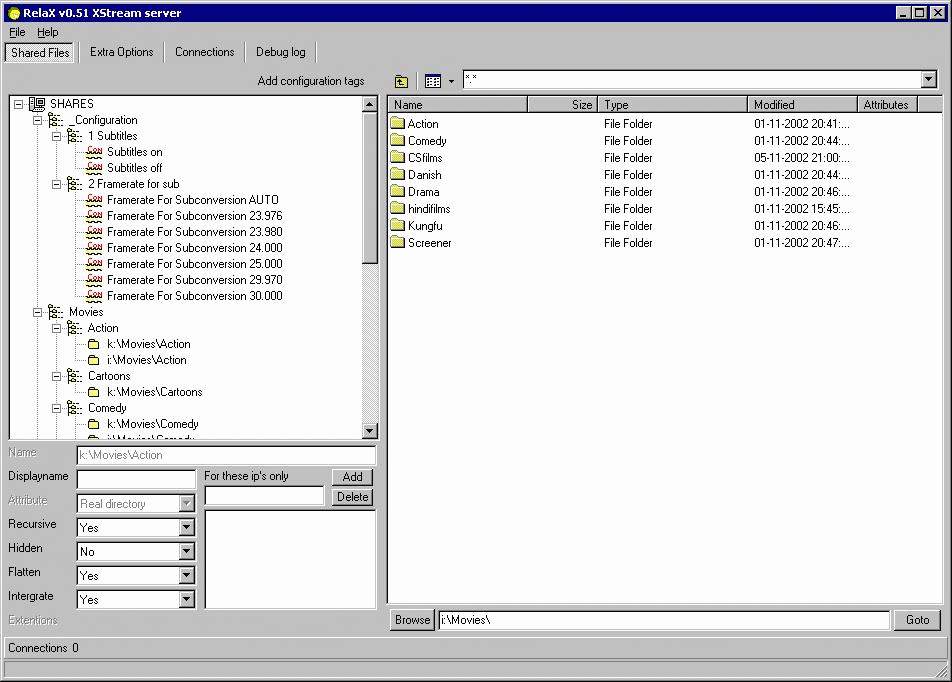
| Name |
indicating the name of the folder |
|
DisplayName |
the name that will be displayed through XBMP |
|
Attribute |
Shows what kind of item u have
selected.. (Virtual directory/directory/file/configuration tag) |
|
Recursive |
Enabling sharing of the subfolders within the selected shared
directory |
|
Hidden |
this setting will make your folder
invisible to XBMP, this is
a feature to quickly enabling or disabling a folder, without adding or removing
it |
|
Flatten |
enabling this setting will flatten a folder structure on the
selected folder. If you folder has subfolders, Relax will make it seem that
all files throughout the subfolders are collected in the selected shared directory |
|
Intergrate |
Enabling this will result that the directory's content
will be pushed in the directory above making the folder invisible .. but the
content in the folder is in the folder above |
|
Extensions |
add a filter to all shared files (for example a directory
had more then only movies but u only want to share moves just add "AVI;MPEG;MPG"
to it and all the rest will be ignored.. when integrated this option will be
not available because it's configured in the directory above
For example u have
<Movies>
<Action movies>
<Actionmovies>
<moreActionmovies\>without integration u would see "Actionmovies" and "Moreactionmovies"
... with integration u would only see the content of both folders in the "action
movies folder"
|
|
For these ip´s only |
This gives you the
possibility to specify
witch ip´s are allowed to browse the folders. Eg. if you have multiple
xboxes connecting, or if you want to prevent possible hacks. |
Now on the two folders that we added to the virtual folder, we enable Recursive
and Flatten. You can choose to enter an ip that is allowed to browse the relax
folder (recommended).
that's it...now
youve created a virtual folder with multiple directories.
XBMP will sort the files in the folder automatically, so you don't need to think
about this!
If you look at the top line of Relax you will see 4 dialog boxes. These are
Shares: where you define your shares and subtitle items
Extra options: Defining a variety of things
Connections: Shows how many connections relax is hosting
Debug Log: gives you a detailed view of what is happening.
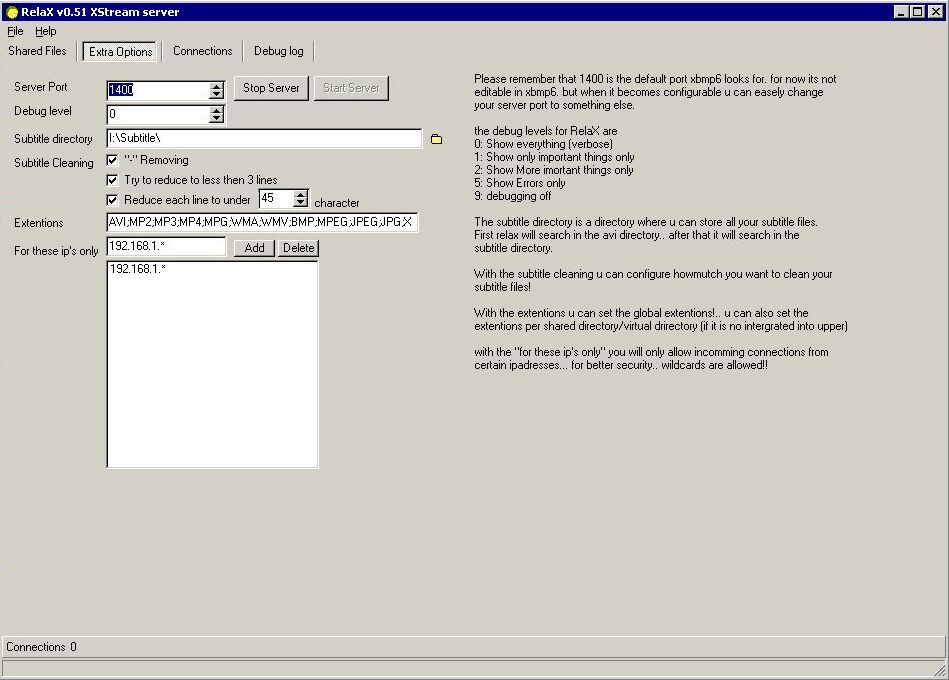
Under Extra options you will find a couple of things, most of these
will be explained at the right side and is easy to understand. The only
thing you really need to set is the folder that contains your subtitles
and restricting which ip´s are allowed to connect to relax (recommended
if relax is run 24/7 on a computer connected directly to the internet)
You can choose to have
a separate folder for your subtitles or keep you subtitles in
the same folder as your files. Just remember to call the subtitle the
exact same name as your movie file.
|